Friday, April 12, 2013

relief, circles, paint and PreKinder!

The Prekindergarten students do one of my favorite projects.  I started this when I discovered TONS of cardboard circles in the closet, left from the previous art teacher. HMMMM, what to do?  I cut up some circles, cut up some regular cardboard, and had the girls glue them down to the large circles.  I encourage them to layer the pieces, and to tear off some of the paper to reveal the corregated texture of the cardboard.  Some of the girls will stand the pieces up on the large circle, almost like a sculpture.  The next class they paint the work, and during the third class they use oil pastels to add whatever they like.  These always are so expressive and beautiful.  Love them!!!


Friday, March 15, 2013

8th grade ceramics...vessels, animals, pinchpots and masks.

These eighth graders are really working well with clay.  Here are some more examples of completed items.


The girls made several pinch pots to use for sgraffito, glaze combinations, or painting.


The hedgehog above has gold-tipped quills.  The swan, with many technical challenges, turned out well.  The turtle shell contained a variety of textures.


 On the first vase, her orange glaze ran off the star onto the body of the vase, but we all agreed that it turned out for the best!  The second vase turned out so well.  She glazed the inside with clear and purple, which streaked and added to the floral feel. 


 The masks.


"I Ain't Gonna Paint No More..

One of my favorite books for Preschool is "I Ain't Gonna Paint No More".  It does not seem like a book an art teacher would read, but it is pretty silly and has fun rhymes.  The little kid paints his entire self!  The kids enjoy guessing the rhymes and repeating the "Ain't gonna paint no more" theme. 

To create the art project, the students drew a self-portrait using Sharpie Markers.  They were encouraged to add patterns with the markers.  They used watercolor to paint themselves and the surrounding area.  The wilder, the better!


I love how she filled the page, and even painted her hair purple.


Maybe she painted a beard on herself?


From pulp to paper to project....


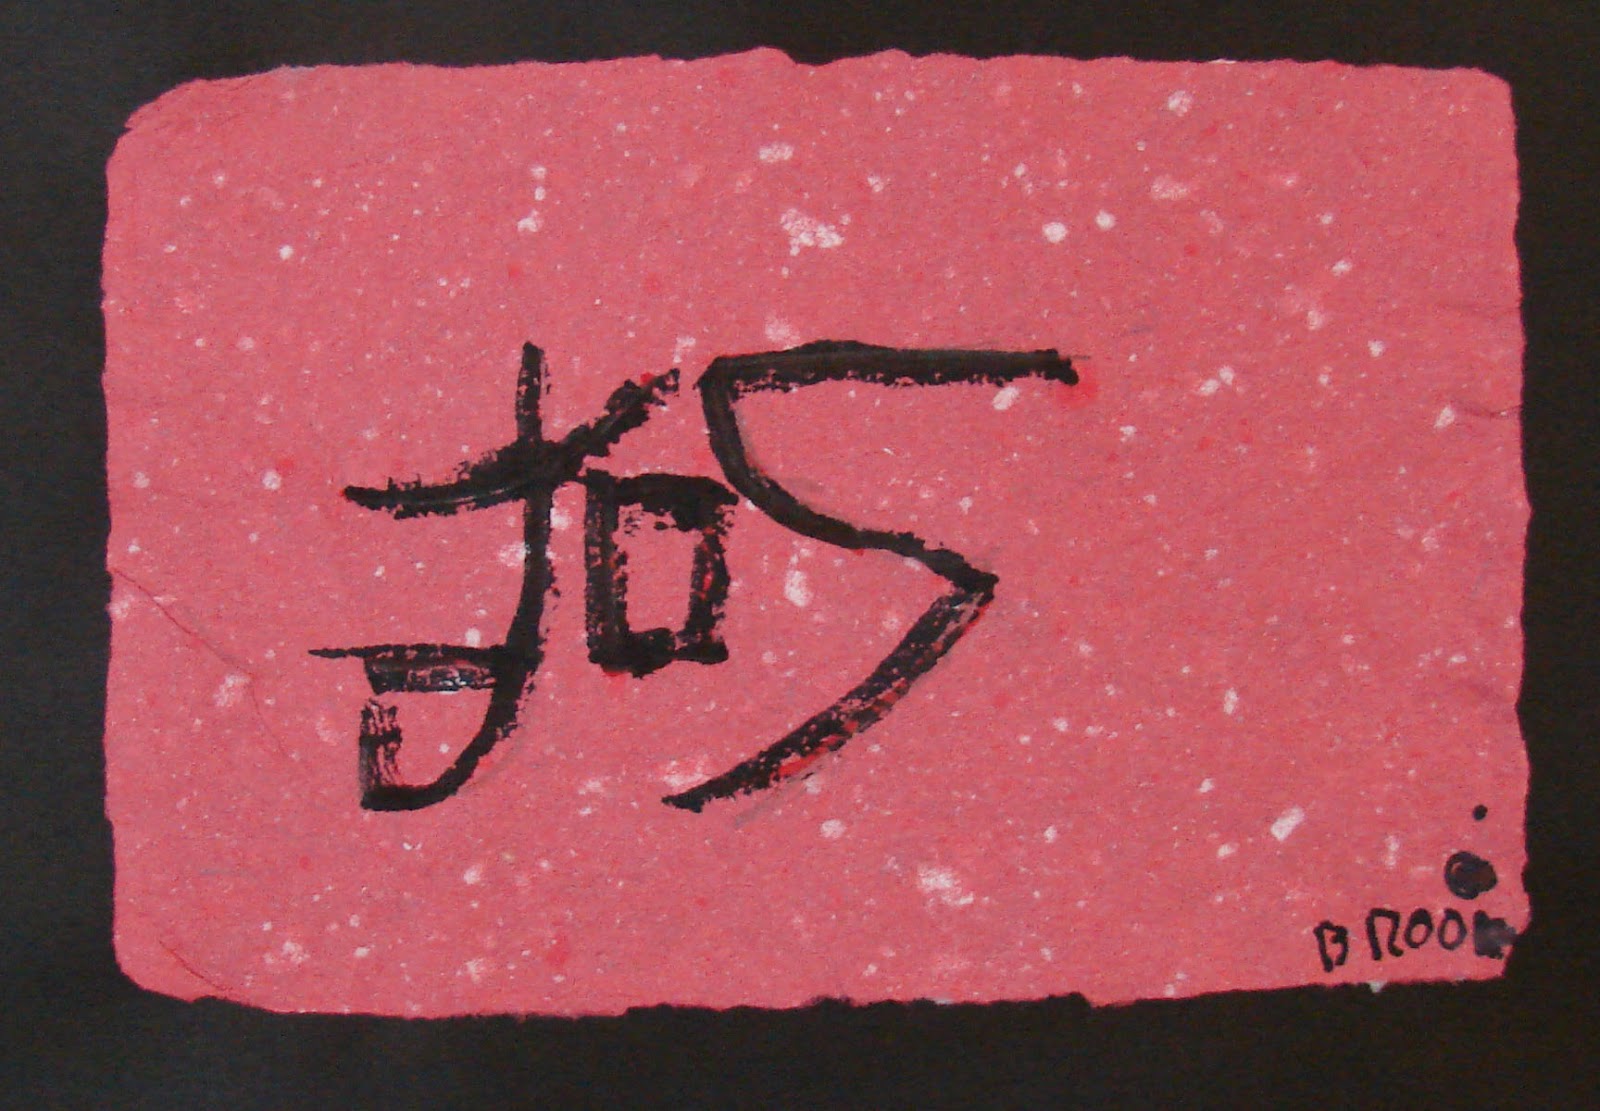
The kindergarten girls and I had a blast making paper!  We learned a little about China, including pictures from the trip Mrs. Jones and I made to China a few years ago.  Paper using pulp was first discovered in China! 
 
So, the girls picked paper in many colors, from magazines, scraps, etc., and tore up the pieces.  We took advantage of technology and used a blender to create our pulp.  I reminded them that this was not the original way!  One benefit of learning to make paper is that the girls will be ready to make margaritas at the next party their parents host.  Quite a Hockadaisy skill!


Here is a student mid-puree with her paper, now becoming pulp.


The mixture is poured into the mold, and the girls mix it a little with their hands.  The mold is then picked up and drained, then the girls spend a lot of time getting all the water out as well as compressing the paper fibers to make the paper!


A lot of squishing, but the love the outcome!  Below are just two examples of the finished product.  They practiced making several characters before selecting one to use on their handmade paper.  They are merely copying the strokes as they see them, not in any official Chinese way!


We discussed the use of a chop, so most used red to put their name or initials at the bottom of the paper.  That also helped me know which way was up!  They did an awesome job!  No fear of a new language when you are in kindergarten.


Thursday, February 21, 2013

Under the sea, in Prekindergarten


This is a wonderful multi-media project that the Prekindergarten girls enjoy.  We are lucky to have a huge aquarium near our library, which the girls and I visited when we started this project.  We noted how different each fish was, how they swam up, down, toward and away from us, and the other items in the aquarium. 
The girls drew, decorated and cut out a paper fish which was used to trace onto a slab of clay.  They added textures to the clay fish, which was then fired.  Mat board was painted with cool colors for the water.  The fired fish were painted.  All the fish as well as "rocks" (hole punch outs) and seaweed (they tore green construction paper) were assembled to make the aquarium. 
No need to feed the fish or change the water!
 
I got this idea at a Texas Art Education Conference several years ago.


The paper fish as it was traced onto the clay, and the clay fish, before adding details.


Some finished examples:


They usually glue the seaweed just to the bottom of the board.  I loved the way she made a gentle arch and used that to base the seaweed.


I loved the placement of the fish.  It was her idea to put the clay fish in the seaweed!


I love how different both of her fish are decorated, and the face on the paper fish cracks me up!


Monday, February 18, 2013

Eric Carle, lots of paint, and Kindergarten


Eric Carle is a well known author and illustrator, especially among the younger set.  We watched the video, "Eric Carle, Picture Writer" in class, and then used his methods to create our own collages.  I like how he just makes decorative papers without an image in his head.  He just makes them, and later pulls the sheets he needs to create the image. 
After I cover the room in paper (this is one messy project), I set up for stations to create the colorful papers.  The girls splatter-painted, rolled, scratched, and stamped their hearts out.  They loved it!


You can see the mess!  During the next two class sessions, they girls cut out shapes for their collage and glued them onto large pieces of paper. 


Working on the floor was easier for most of the girls.


 The one above was one of my favorites!  I loved the rhythm of the snakes!  They are large as well, she used the entire page.  Wonderful!
 
 I loved the ears on the animal on the right!

Using the prints to make a book 1st Grade

The first graders made styrofoam prints of a cityscape, as I posted earlier.  I went through their prints and selected one from each student, which I mounted and then displayed on the boards near their room.  The comments regarding the prints have been awesome! 

The next time the girls came to art, I gave them all of their prints back, from 5 to 25 prints per students. Some were quite prolific! They selected at least 4 prints and mounted them on white copy paper, and then signed the print. There are 4 students at each table, so they kept one print and gave one to each person at their table. If they were so inspired, they could mount more and hand those out to other students. They took two pieces of 9 x 12 construction paper and drew a cover on one sheet. After they were done, they assembled all the prints in the order they wanted, added the cover and back pages, and then I stapled them together.


As you can see, there were lots of prints and activity as the girls selected their prints and mounted them.


 One of the covers finished, some used "art" as the theme, a few liked the "city print" theme for their book.


And then the final book.  I let them take them home that day.  The parents get to see their own students' work as well as others.  It also is a great way to use the printing process in a practical way, a good reason for having multiple images.
They were very proud and excited about showing off their books!