Thursday, May 16, 2013

Snails, by Prekindergarten

Somewhere on the internet (kinderart maybe, I must look) I found a lesson idea for making snails.  They used the primary colors in cocentric circles to make the shell.  Then whatever they wanted to do to finish the picture.  These turned out better than I thought, but then again, the LOVE to paint, and mix colors!


Love the happy face on the blue snail!


I do not know where the snail went, but I love it!


I love the expressiveness in their painting!


My favorite, Fish Sticks!


Oh, love the Fish Sticks.  The girls get the pun! 
Here are some pictures of some of the ceramic fish that are currently out along the path around the pond. 


This year they used watercolor and painted light colors all over the fish, and then painted over that with dark colors.  Then the girls used a sponge to wipe off the dark color, leaving dark in the textures and scratches in the clay.  Some did not use this method, they had a choice.  Either way, fun!


Rangoli by Kindergarten and Primer


Rangoli designs are made in India, primarily by the women, and decorate the entryway into a home.  Kindof a welcome mat.  They can be made of dyed rice, flowers, etc., and can be swept away to make room for a new one! 
The kindergarten students loved looking at all of the pictures we found on the internet of Rangolis.  The designs are so varied, intricate, and simple.  Beautiful.
We made our own  Rangoli designs.  I made a simple grid and photocopied it so that the girls could get some ideas.  Then they drew their designs on large butcher paper, working on the floor, just like they would if they were in India.


They used white tempera paint and then added color. 
Some turned out so well and so vibrant. 

 
We hope you feel welocomed as you view our Rangoli designs!


Friday, April 12, 2013

relief, circles, paint and PreKinder!

The Prekindergarten students do one of my favorite projects.  I started this when I discovered TONS of cardboard circles in the closet, left from the previous art teacher. HMMMM, what to do?  I cut up some circles, cut up some regular cardboard, and had the girls glue them down to the large circles.  I encourage them to layer the pieces, and to tear off some of the paper to reveal the corregated texture of the cardboard.  Some of the girls will stand the pieces up on the large circle, almost like a sculpture.  The next class they paint the work, and during the third class they use oil pastels to add whatever they like.  These always are so expressive and beautiful.  Love them!!!


Friday, March 15, 2013

8th grade ceramics...vessels, animals, pinchpots and masks.

These eighth graders are really working well with clay.  Here are some more examples of completed items.


The girls made several pinch pots to use for sgraffito, glaze combinations, or painting.


The hedgehog above has gold-tipped quills.  The swan, with many technical challenges, turned out well.  The turtle shell contained a variety of textures.


 On the first vase, her orange glaze ran off the star onto the body of the vase, but we all agreed that it turned out for the best!  The second vase turned out so well.  She glazed the inside with clear and purple, which streaked and added to the floral feel. 


 The masks.


"I Ain't Gonna Paint No More..

One of my favorite books for Preschool is "I Ain't Gonna Paint No More".  It does not seem like a book an art teacher would read, but it is pretty silly and has fun rhymes.  The little kid paints his entire self!  The kids enjoy guessing the rhymes and repeating the "Ain't gonna paint no more" theme. 

To create the art project, the students drew a self-portrait using Sharpie Markers.  They were encouraged to add patterns with the markers.  They used watercolor to paint themselves and the surrounding area.  The wilder, the better!


I love how she filled the page, and even painted her hair purple.


Maybe she painted a beard on herself?


From pulp to paper to project....


The kindergarten girls and I had a blast making paper!  We learned a little about China, including pictures from the trip Mrs. Jones and I made to China a few years ago.  Paper using pulp was first discovered in China! 
 
So, the girls picked paper in many colors, from magazines, scraps, etc., and tore up the pieces.  We took advantage of technology and used a blender to create our pulp.  I reminded them that this was not the original way!  One benefit of learning to make paper is that the girls will be ready to make margaritas at the next party their parents host.  Quite a Hockadaisy skill!


Here is a student mid-puree with her paper, now becoming pulp.


The mixture is poured into the mold, and the girls mix it a little with their hands.  The mold is then picked up and drained, then the girls spend a lot of time getting all the water out as well as compressing the paper fibers to make the paper!


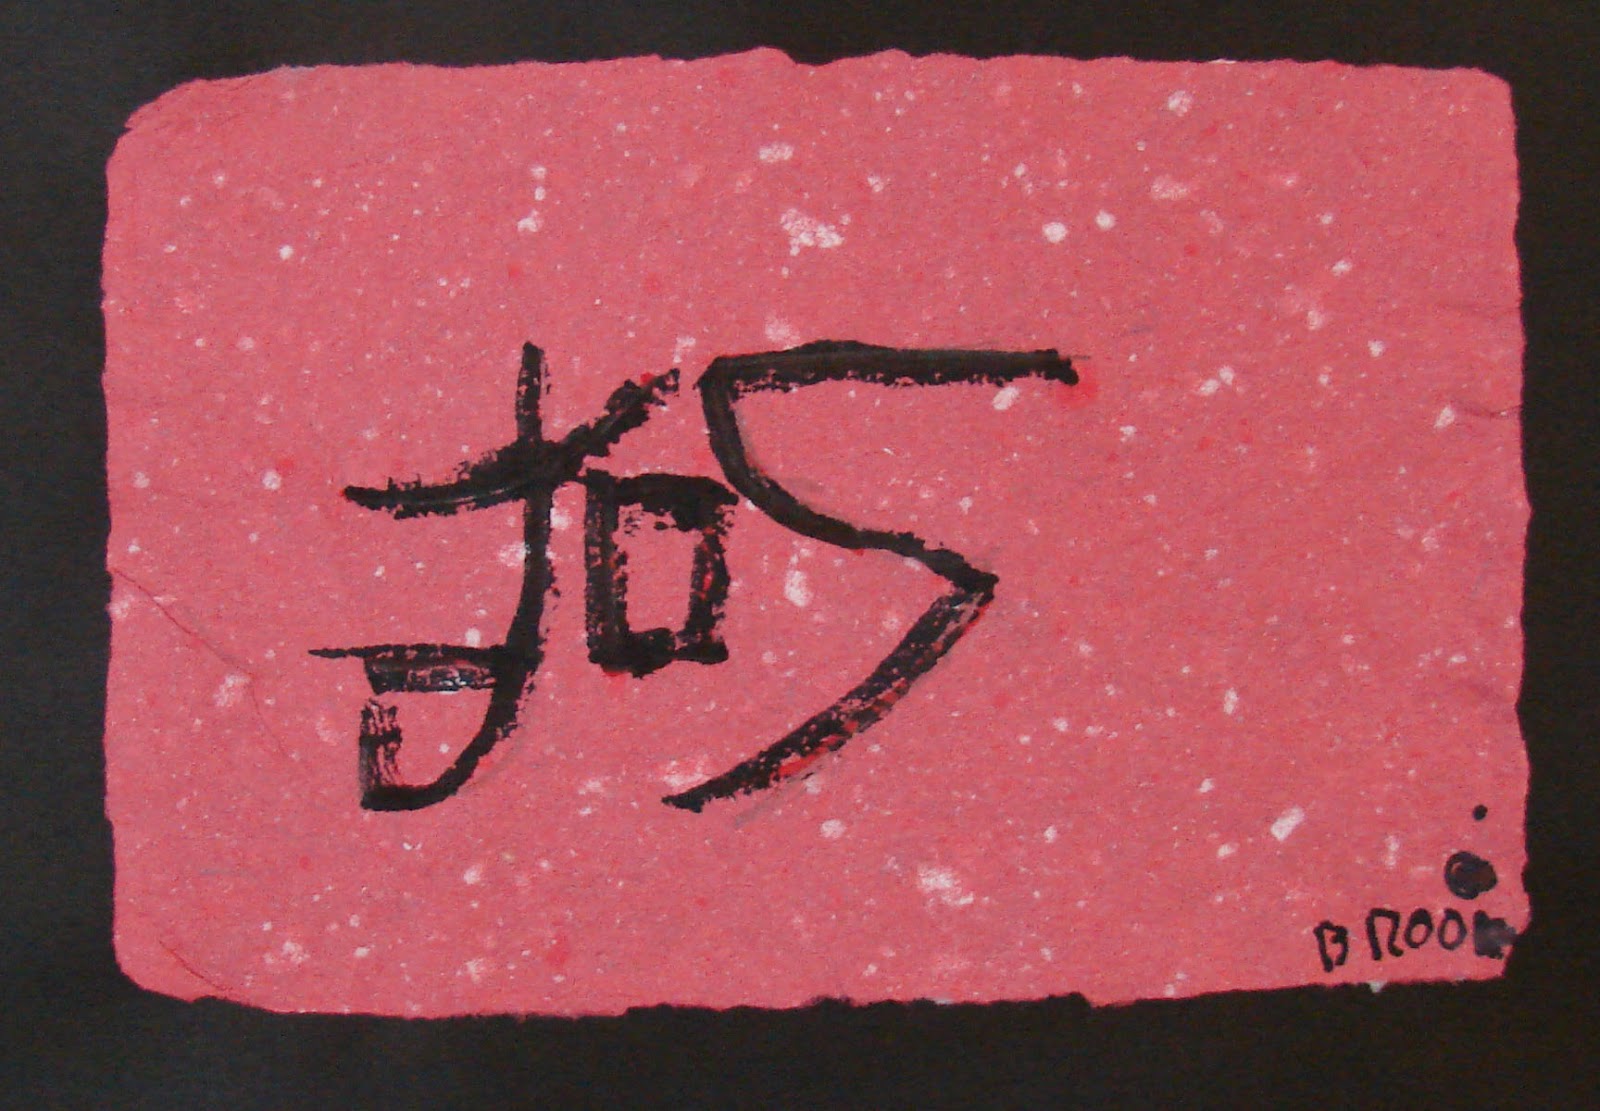
A lot of squishing, but the love the outcome!  Below are just two examples of the finished product.  They practiced making several characters before selecting one to use on their handmade paper.  They are merely copying the strokes as they see them, not in any official Chinese way!


We discussed the use of a chop, so most used red to put their name or initials at the bottom of the paper.  That also helped me know which way was up!  They did an awesome job!  No fear of a new language when you are in kindergarten.